Hatching Chicken Eggs 101: Everything You Need to Know for Day 21
Embarking on the journey of hatching chicken eggs at home is an incredibly rewarding way to start your backyard flock, offering a front-row seat to one of nature’s most fascinating miracles. While the idea of managing an incubator might feel a bit intimidating at first, mastering the basics of temperature, humidity, and egg turning is simpler than it seems. This guide is designed to take the guesswork out of the process, walking you through every critical step from selecting the right eggs to that first exciting “pip” in the shell. If you’re ready to transform your kitchen counter into a nursery, you’re in the right place to start your hatching adventure.
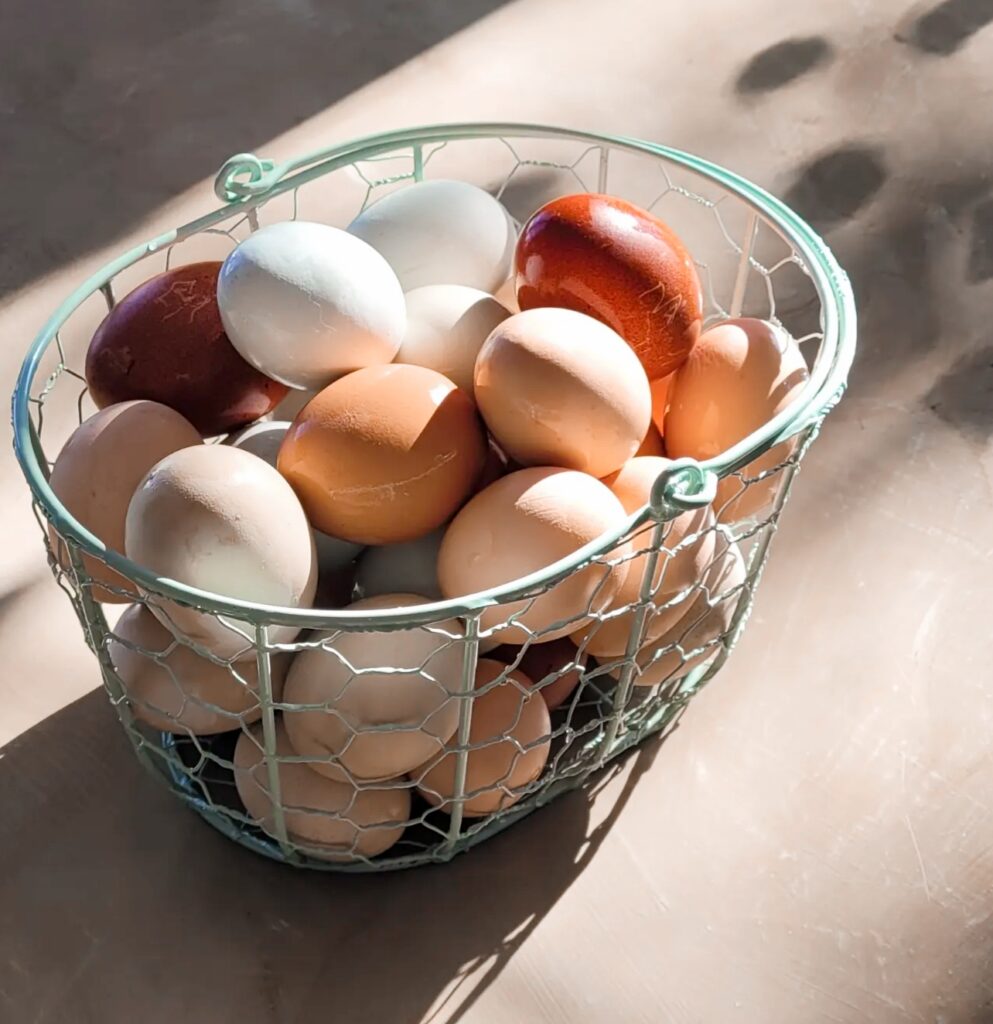
Step 1: Find Fertilized Eggs
Ensure your eggs are fertile (sourced from a farm with a rooster). Do not refrigerate them; keep them at room temperature if you aren’t ready to start immediately. We got our eggs from my neighbors and our own chickens. My neighbor has several roosters that do a good job of fertilizing all the hens. Check Facebook Marketplace or Craigslist for local farmers who are selling fertilized eggs. Believe it or not, you can also buy these eggs online. I once bought a dozen eggs from eBay. Unfortunately, only one hatched, but most people have better luck than I did. We ended up naming that chick Lucky, which was fitting since she was one of our only chickens that outlived a predator attack we had several years ago.
Step 2: Buy The Right Incubator
My husband is an engineer, and the first year I tried hatching my own eggs, he built me an incubator. It worked, but I had to hand-turn the eggs and my hatch rate was low. Since then, there has been a large selection of great incubators on Amazon. This is the incubator I bought, and this year we had 100% hatching success. I recommend finding an incubator that auto-rotates the eggs for you and has temperature and humidity control. I also recommend reading the directions before adding your eggs, something I am guilty of skipping haha.

Step 3: Let’s Get Started (Days 1-18)
For most forced-air incubators, the “magic number” is 37.5°C (99.5°F). Place eggs large-end up or on their sides, depending on your tray type. Eggs must be turned at least 3 to 5 times a day to prevent the embryo from sticking to the shell membrane. If you have an automatic turner, it will handle this for you. Keep humidity around 45% to 50%. You achieve this by adding water to the designated internal reservoirs.
Candling (Day 7–10): Shine a bright flashlight through the egg in a dark room. You should see a dark spot with spider-like veins. Clear eggs are likely infertile and should be removed.

Step 4: Lockdown (Days 19-21)
This is when things get exciting!! Three days before the expected hatch, you must prepare for the arrival. Remove the egg turner or stop manual turning. This allows the chick to position itself for “pipping” (breaking the shell). The incubator I bought stops on its own on day 19. Boost humidity to 65% to 70% often this just means adding more water to the incubator. This softens the shell membrane so the chick doesn’t get stuck. Don’t open the lid during lockdown because it will cause a rapid drop in humidity, which can “shrink-wrap” the chick inside the egg.
Step 5: Hatching and Aftercare
The Pip and Zip: The chick will make a small hole (pip), then eventually cut a circle around the shell (zip). This process can take up to 24 hours—resist the urge to “help” unless it’s a dire emergency. I have had to help a chick, but not until all the other chicks had hatched and it was obvious it needed help. If you peel the membrane off too soon, the chick can bleed to death.
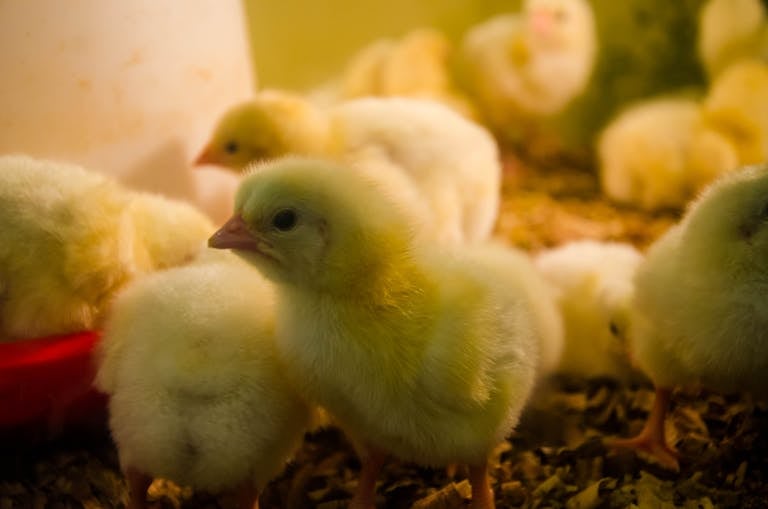
Drying Off: Leave the chicks in the incubator until they are completely dry and fluffy (usually 12–24 hours). They can survive on their yolk sac for up to 48 hours without food or water. This always feels unnatural to me but they will be ok!!
The Brooder: Move the dry chicks to a pre-heated brooder box with a heat lamp, wood shavings, chick starter feed, and a shallow water dish. If you don’t have a brooder box, you can be creative. We have even used our downstairs bathtub before until it was warm enough outside to move the chicks to the pole barn. When the chicks are little make sure the water dish is shallow, the chicks can drown. Don’t use a plastic bowl because they are light; I have had chicks flip them over on themselves and start to suffocate. (Most animal feed stores have the supplies you will need, Fleet Farm and Home Depot also carry some supplies).
Click here for next steps: The Complete Week-by-Week Guide to Raising Baby Chicks
Frequently Asked Questions
Dry hatching is a method where you add little to no water to the incubator during the first 18 days of the cycle, relying instead on the natural ambient humidity of the room. While “standard” hatching usually aims for 45–50% humidity from the start, dry hatching keeps the humidity much lower—typically between 15% and 30%.
No. Eggs must be fertile (from a hen living with a rooster). Most grocery store eggs are unfertilized and refrigerated, which kills any potential development.
Ideally, no more than 7 to 10 days. After 10 days, the “hatchability” drops significantly. They should be stored in a cool place (not a fridge) and turned daily.
By Day 7, you should see a dark spot (the embryo) with “spiderweb” veins spreading out. By Day 14, the egg should look mostly dark with a clear air cell at the fat end.
Don’t toss them! Eggs can often survive a few hours of cooling. Keep the incubator closed to trap heat, or wrap it in a towel (leaving air vents open). I had this happen to me once overnight and all the eggs hatched just fine.
While Day 21 is the goal, slight temp fluctuations can cause early or late hatches. If nothing happens by Day 25, the eggs are likely not viable