The Complete Week-by-Week Guide to Raising Baby Chicks
Bringing home a box of fluffy, chirping birds is an exciting milestone, but raising chicks week by week requires a clear understanding of their rapidly changing needs to ensure a healthy flock. From the moment they enter the brooder to the day they finally move to the outdoor coop, their development happens at a lightning-fast pace. To help you navigate this guide provides a manageable roadmap for their first two months of life.
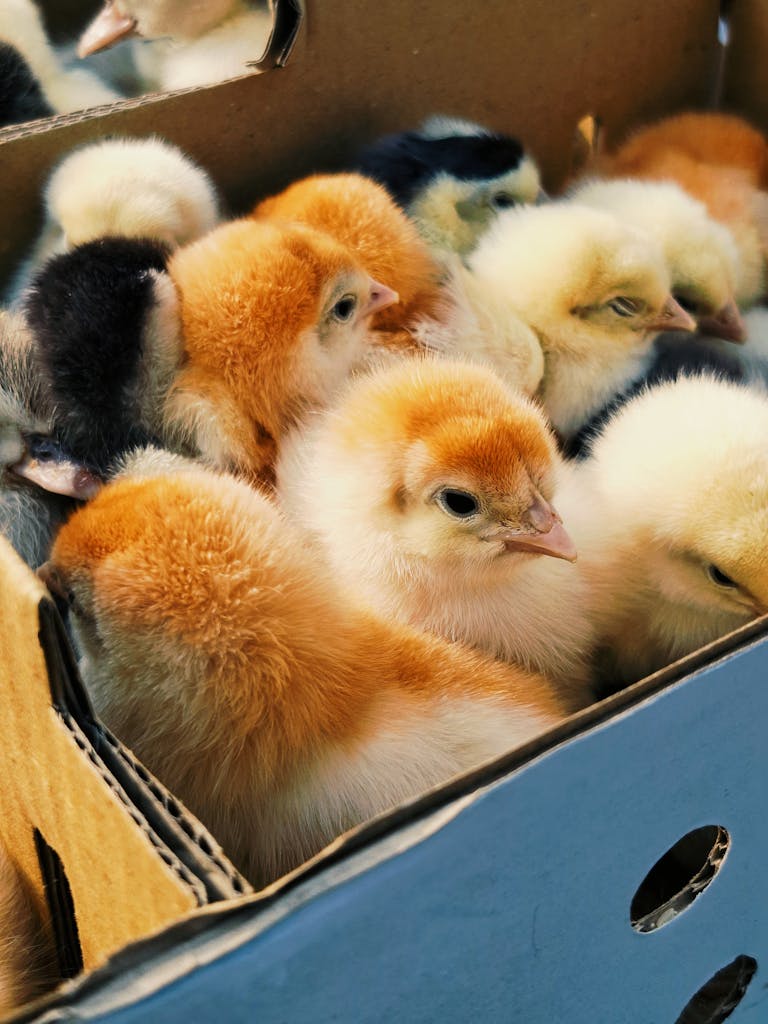
Step 1: Get Yourself Some Chicks!
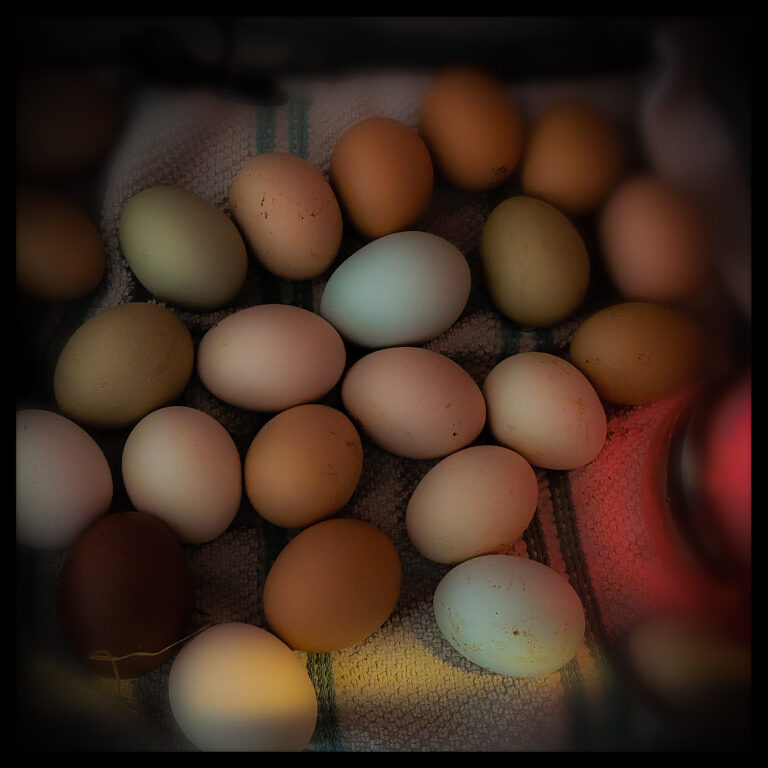
If you’re not hatching your own chicks, there are plenty of places that sell chicks. Animal feed stores, local farmers, and online sites (yes, they deliver) are all popular places to buy chicks. You will also need to choose the breed or breeds you want. There are so many wonderful breeds. If you are looking for colorful eggs, Easter Eggers and Ameraucanas are good picks. If you prefer good egg production over color, Golden Comets, ISA Browns, and Lohmann Browns are good choices. Some people are most concerned about personality; Buff Orpingtons, for example, are known as affectionate ‘lap chickens.’
Step 2: Prepare the “Brooder” (The Nursery)
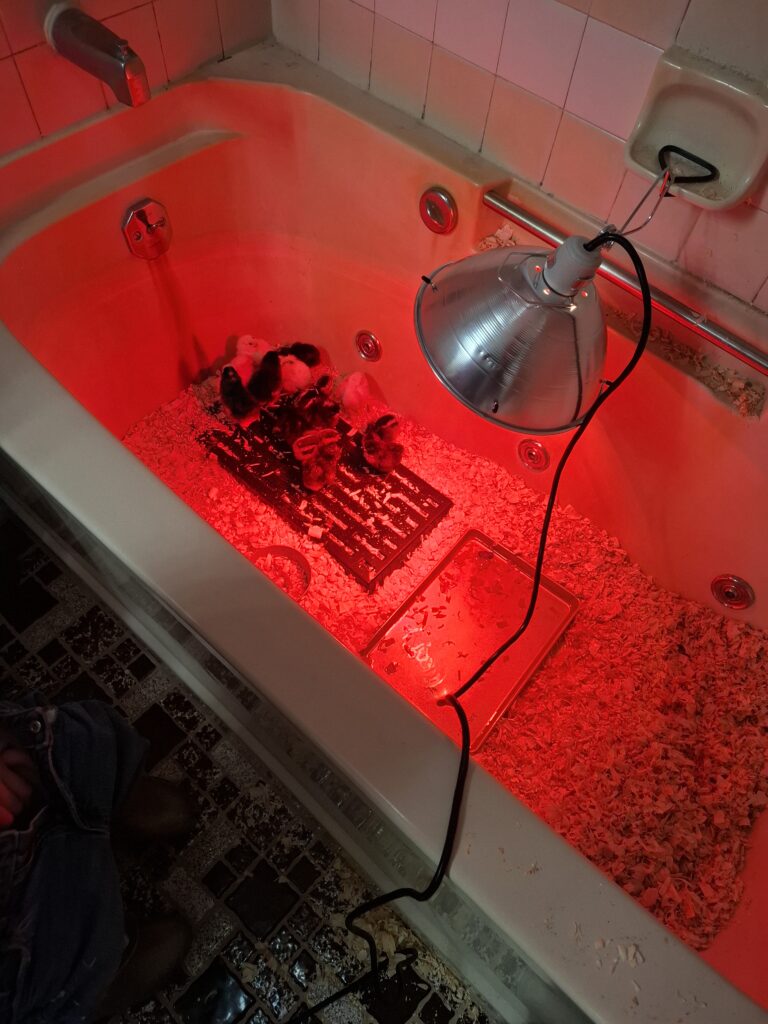
Before the chicks arrive, you need a safe environment. A brooder is just a container that keeps them warm, contained, and safe from predators or pets. The container can be a large plastic tote, a galvanized stock tank, or even a sturdy cardboard box. This year, we used our downstairs bathtub for a few weeks and then moved them to the pole barn in a large rabbit cage. Make sure to use 1–2 inches of pine shavings. Do not use cedar, as it is toxic to chicks. Make sure there is good ventilation, but also ensure it is secure so other animals, like the family cat, cannot get in
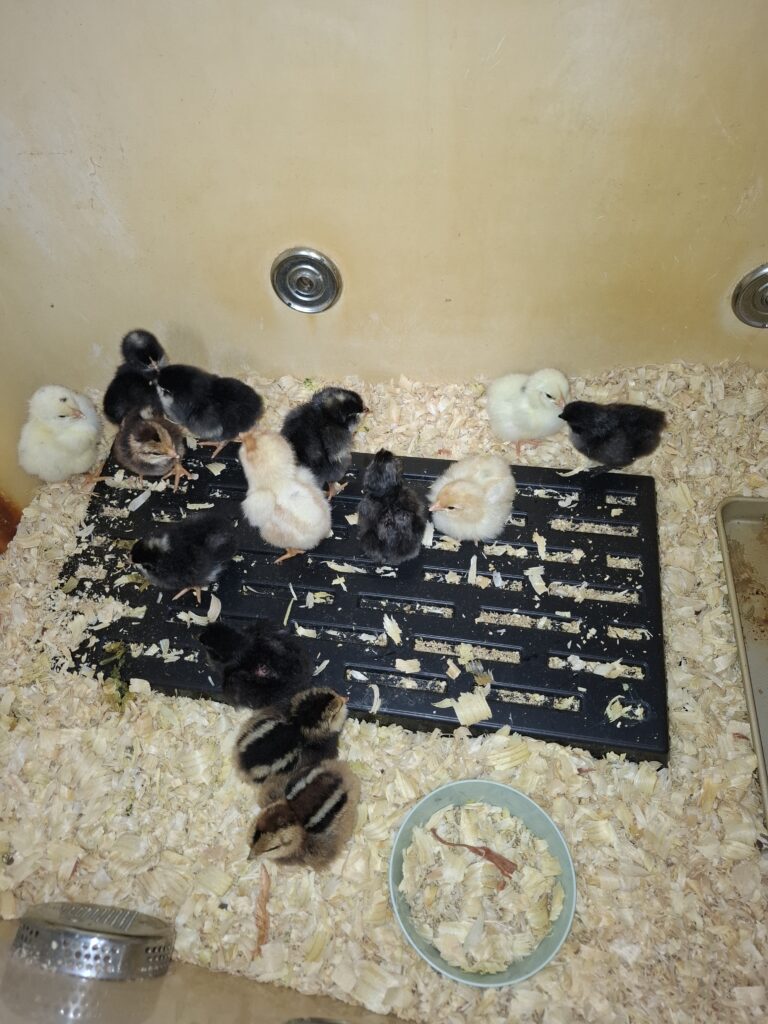
Chicks in our bathtub
2. Temperature Regulation
Chicks cannot regulate their own body temperature for the first few weeks. For the first week of life, you want to keep the temperature around 95°F. Drop the temperature by 5°F every week until you reach the ambient outdoor temperature or they are fully feathered (usually around 6 weeks). The best heat sources are heat lamps and brooder plates. Brooder plates mimic a mother hen; chicks crawl under them to get warm. They are much safer and more energy-efficient.
- The “Huddle” Test: Watch their behavior.
- Too Cold: They huddle directly under the heat and chirp loudly.
- Too Hot: They stay far away from the heat and may pant.
- Just Right: They are spread out, sleeping, and playing throughout the brooder.
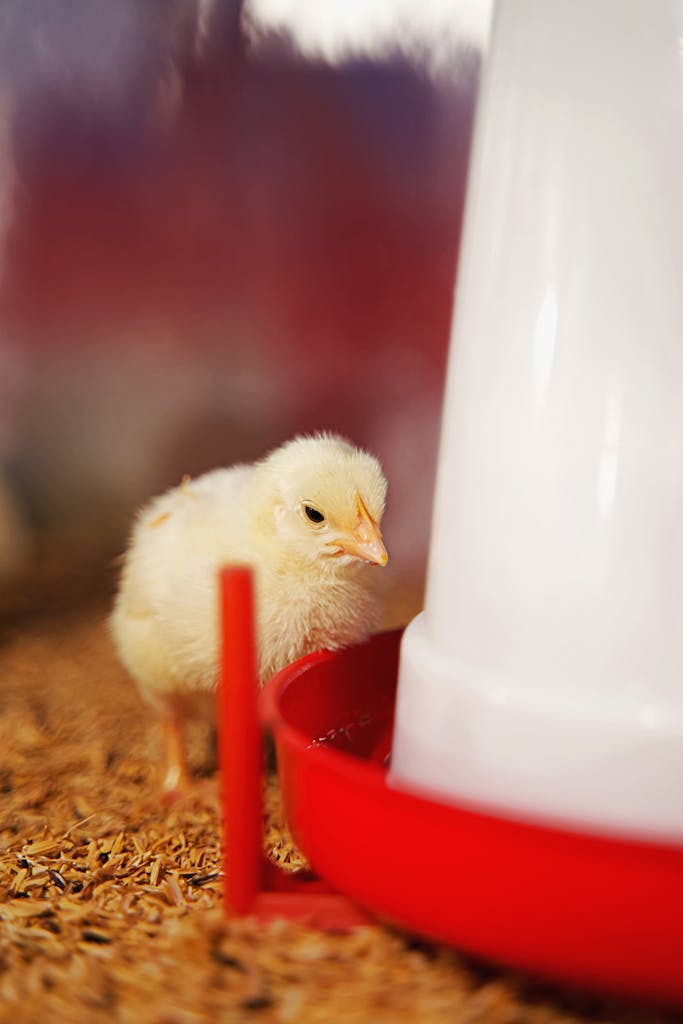
3. Hydration and Nutrition
When you first put the chicks in the brooder, gently dip their beaks into the water so they know where it is. Use a shallow chick waterer. Chicks can easily drown in a deep bowl. Chicks need a high-protein “Starter” feed (usually 18–20% protein). You can buy medicated feed contains which has a small amount of amprolium to help them build immunity to Coccidiosis, a common intestinal parasite. I have never done this and haven’t had any issues. Feed can be bought online or at your local animal feed store.
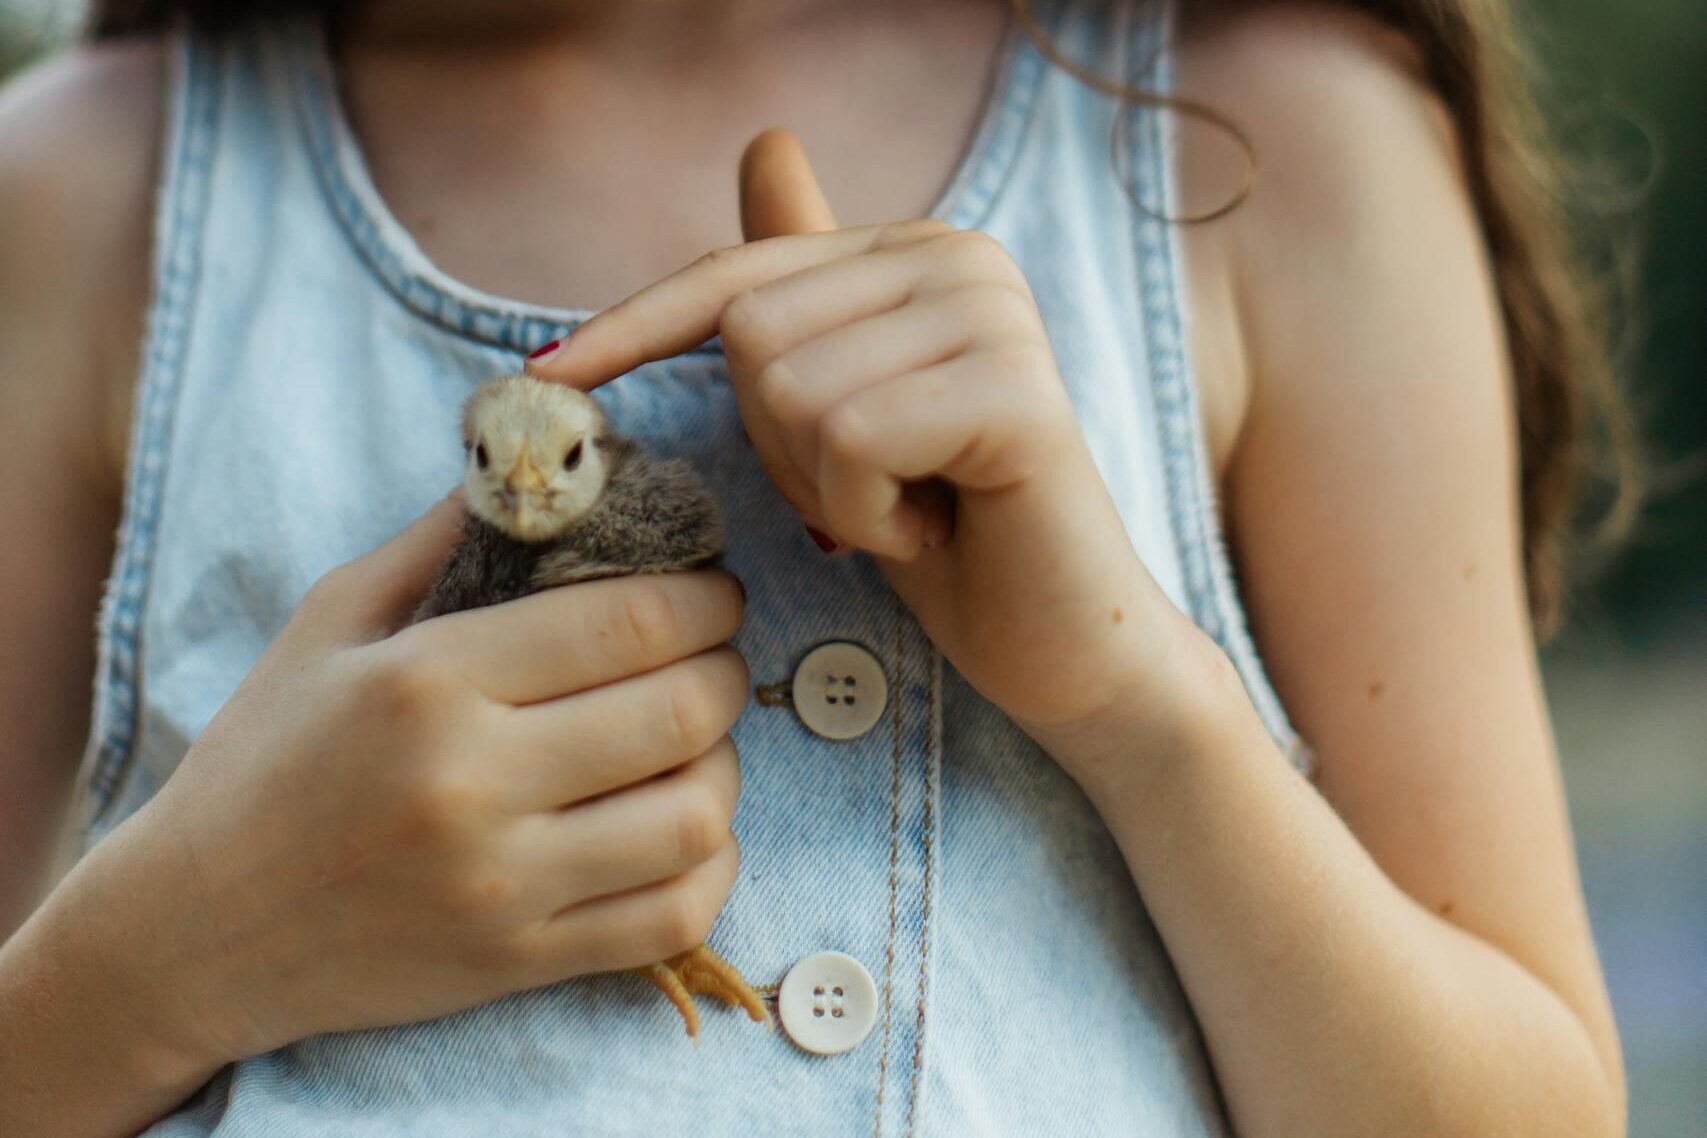
4. Daily Maintenance & Health Checks
Change the bedding whenever it gets wet or smelly. Damp bedding is a breeding ground for bacteria. Pasty butt is a common, potentially fatal condition where droppings dry and plug the chick’s vent. Check them daily. If you see a blockage, gently clean it off with a warm, damp paper towel. You can handle them to get them used to humans, but keep it brief (10 minutes) so they don’t get too cold. My kids love holding the new chicks.
5. Transitioning Outside
As they grow, they’ll get ugly they loose the fluffy chick look and start growing feathers. They go through a awkward teenager phase before growing into full chickens.
- Week 4: If it’s warm outside (70°F+), you can give them supervised “field trips” in a secure pen to Peck at grass.
- Week 6: Once they are fully feathered (no more fuzzy down), they can move to the outdoor coop permanently, provided it is predator-proof.
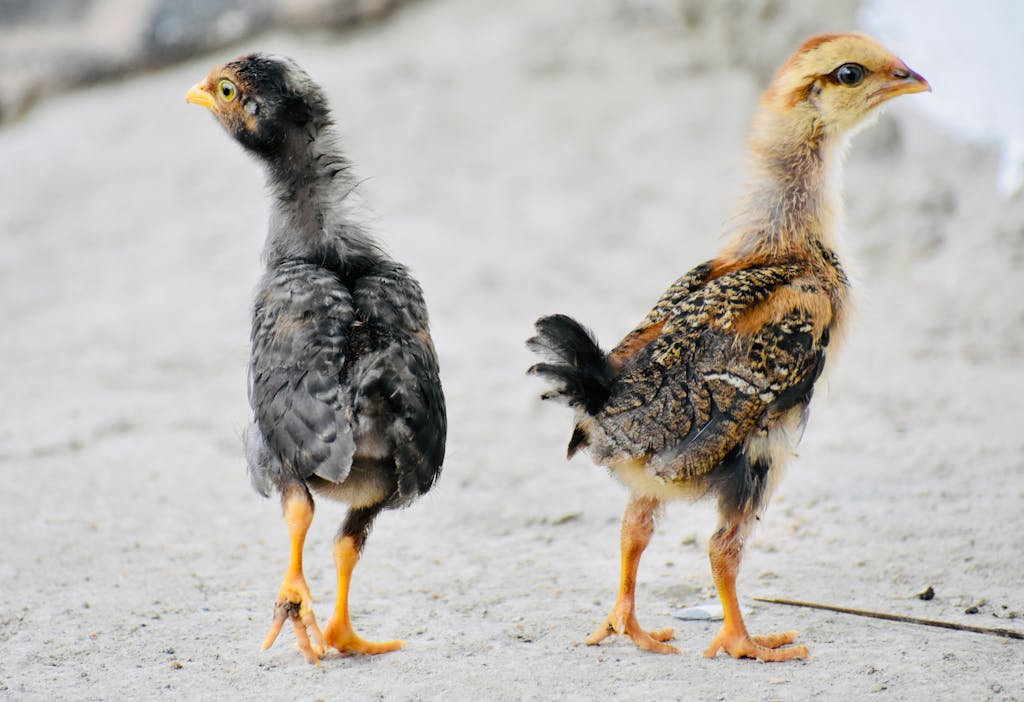
It is common to lose some teenage chickens to predators or even other grown chickens. I try to keep them in the coop instead of free-ranging all day.
Click here to learn more about raising backyard chickens
Frequently Asked Questions
Usually boredom or overcrowding. They could also be started their pecking order.
Most experts say wait until week 2 or 3, and only in small amounts.
They outgrow small brooders fast. By week 4, they usually need about 1 square foot per bird.
You can try placing a cage inside the coop to keep the younger bird protected but still prevents the older hens from being too aggressive.
Most search results point to week 8 as the time to switch from high-protein starter to grower crumbles